
Table of Contents
Hello there! If you’re reading this, you’re probably interested in ASIC Verification and want to learn more about Assertions. Well, you’ve come to the right place! I’m excited to share my knowledge with you.
Step 1: Understanding Assertions
In ASIC Verification, these statements are used to validate the behavior of a design at a particular point in the code. If the condition specified does not hold, it flags an error, alerting us to a potential problem in our design.
Step 2: The Significance of Assertions
These statements play a crucial role in the verification process. They help us catch design errors early in the development cycle, saving valuable time and resources. Moreover, they serve as a form of documentation, providing insights into the designer’s intent and making the code easier to understand and maintain.
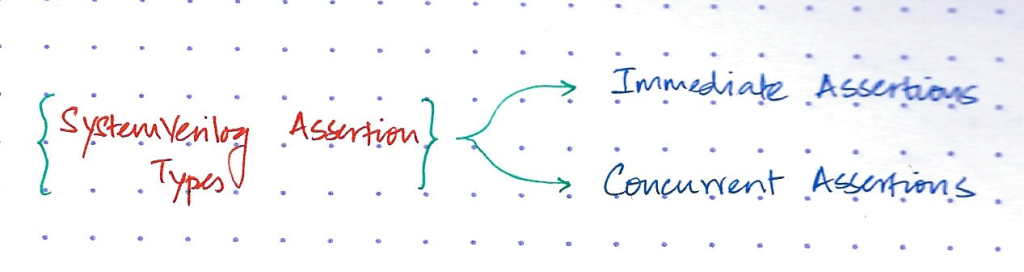
Step 3: Categories of Assertions
There are two main categories: Immediate and Concurrent.
Immediate Assertions
Immediate ones are evaluated at the moment they are encountered in the code. Here’s a simple example in SystemVerilog:
always @(posedge clk) begin
    assert (reset == 1'b0) else $error("Reset is not de-asserted");
end
In this example, the statement checks that the reset signal is de-asserted (i.e., low) at every positive edge of the clock. If the reset signal is not low, it triggers an error message.
Concurrent Assertions
Concurrent ones are evaluated over a period of time, making them ideal for verifying sequences of events. Here’s an example of a concurrent assertion in SystemVerilog:
always @(posedge clk) begin
    assert property (@(posedge clk) disable iff (reset) (req -> ##[1:5] ack));
end
This statement checks that whenever a request (req) is made, an acknowledgment (ack) follows within 1 to 5 clock cycles. If this condition is not met, it triggers an error.
Step 4: Assertion-Based Verification
This is a methodology where these statements are used throughout the verification process. It enhances the traditional verification process by providing a more structured and systematic approach to finding and fixing bugs.
Step 5: SystemVerilog and Assertions
SystemVerilog, a widely used hardware description and verification language, provides built-in support for these statements. This feature allows us to write more robust and self-checking testbenches.
Let’s consider a FIFO (First In, First Out) buffer scenario. In a FIFO, the first data that comes in is the first one to come out. We can use an assertion to verify this behavior.
Here’s an example:
property fifo_property;
  @(posedge clk) disable iff (reset)
  $fell(wr_en) |-> ##[1:$] (rd_en && $fell(rd_en)) ##1 (fifo_out == fifo_in);
endproperty

always @(posedge clk) begin
  assert property (fifo_property) else $error("FIFO property violated");
end
In this example, the assertion fifo_property checks that if a write enable (wr_en) falls (indicating data has been written into the FIFO), then at some point in the future, a read enable (rd_en) must fall (indicating data has been read from the FIFO), and at that point, the data read from the FIFO (fifo_out) must be equal to the data that was written into the FIFO (fifo_in). If this condition is not met, it triggers an error message stating “FIFO property violated”.
Conclusion
These statements are a powerful tool in ASIC Verification, helping us catch design errors early and enhancing our understanding of the code. Whether you’re a seasoned verification engineer or just starting out, mastering these statements will undoubtedly be a valuable addition to your verification toolkit.
Remember, the key to successful verification is not just writing these statements, but knowing where and when to use them effectively. So, keep practicing and happy verifying!
I hope you find this blog post helpful. If you have any questions or need further clarification on any points, feel free to ask!